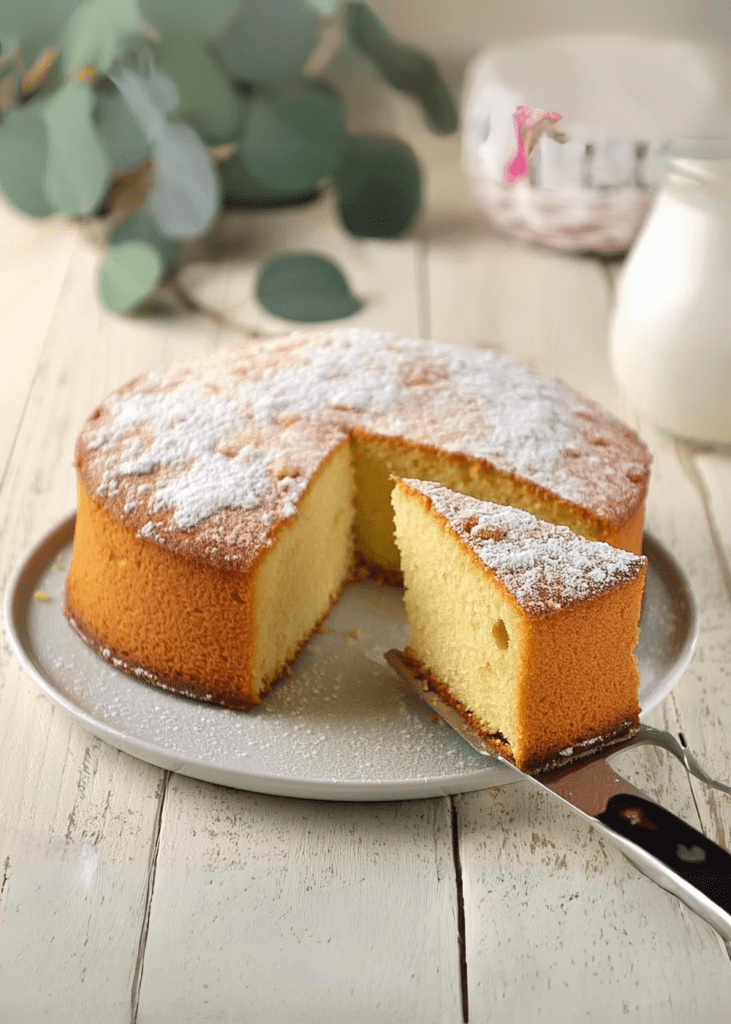
Introducing the Classic Vanilla Bliss Cake
If you are in search of the perfect cake that exudes simplicity while delivering an unparalleled taste experience, look no further. Allow me to present to you the Classic Vanilla Bliss Cake. This delightful creation boasts a moist texture and a luxurious vanilla flavor that have solidified its status as a timeless favorite among cake enthusiasts. Whether it be an intimate gathering or a grand event, this cake is guaranteed to captivate the hearts and palates of all who indulge.
Embark on this culinary journey with our easy-to-follow recipe, and you will be rewarded with a masterpiece that not only looks stunning but also leaves a lasting impression with its exceptional taste.

Ingredients
Here’s what you’ll need to create this scrumptious cake:
- 3 eggs
- 1 cup of milk
- 1/2 cup of oil
- 1 cup of sugar
- 1 tablespoon of vanilla essence
- 2 cups of cake flour
- 1 tablespoon of baking powder
Directions
Let’s dive into the step-by-step process to make your Classic Vanilla Bliss Cake:
- Preheat the Oven: Preheat your oven to 160 °C (320º F) to ensure it’s ready when you are.
- Prepare the cake pan: grease and flour a cake pan thoroughly. This step is very important if you don’t want the cake to stick to the pan.
- Mix Wet Ingredients: In a large mixing bowl, start by adding the eggs, milk, oil, and sugar one by one. Beat well after each addition to ensure a smooth and well-blended mixture.
- Add Vanilla Essence: Pour in the vanilla essence and mix it into the wet ingredients.
- Combine Dry Ingredients: In a separate bowl, sift together the cake flour and baking powder. This helps to incorporate air and ensure a light, fluffy cake.
- Incorporate dry ingredients: Gradually add the sifted dry ingredients to the wet mixture, beating continuously to avoid any lumps.
- Beat Until Smooth: Continue to beat the mixture for about 2 minutes until it’s smooth and well combined.
- Pour Batter into Pan: Pour the smooth batter into the prepared cake pan, spreading it evenly with a spatula.
- Bake the cake: Place the cake pan in the preheated oven and bake for 50 to 60 minutes. Avoid opening the oven door before 50 minutes to prevent the cake from collapsing.
- Check for doneness: Check if the cake is done by ensuring the top is golden and not pale. Another way is to stick a toothpick into the middle of the cake.
- When determining if the cake is fully cooked, it is important to ensure that it comes out clean when tested.
- Sprinkle with sugar: Once the cake is done, remove it from the oven and sprinkle with sugar. Let it rest in the turned-off oven for a few minutes to melt the sugar slightly, creating a delightful, sweet crust.
- Cool and Serve: Allow the cake to cool completely before slicing. Serve and enjoy your classic vanilla bliss cake!
Conclusion
There you have it—the ultimate guide to creating the perfect Classic Vanilla Bliss Cake. Whether you’re baking for a special occasion or simply craving a sweet treat, this classic recipe is sure to satisfy your dessert cravings. Don’t hesitate to experiment with flavors and decorations to make this vanilla cake your own!
So, gather your ingredients, preheat your oven, and let’s get baking on this delightful vanilla dream of a cake!
FAQs (Frequently Asked Questions)
- Can I use all-purpose flour instead of cake flour?
- Yes, you can use all-purpose flour, but the cake might be slightly denser. To mimic cake flour, replace 2 tablespoons of each cup of all-purpose flour with cornstarch and sift well.
- How can I make the cake more moist?
- Adding a bit more oil or an extra egg yolk can make the cake moister. Be careful not to bake the cake too long, as that can make it dry.
- Can I add frosting to this cake?
- Absolutely! A simple buttercream or cream cheese frosting would complement this vanilla cake beautifully.
- How should I store the cake?
- For optimal storage, it is recommended to store the cake in a sealed container, ensuring no air can enter, at room temperature. This storage method will maintain the freshness and quality of the cake for a period of up to three days. Alternatively, if a longer storage period is desired, refrigeration is recommended. When refrigerated, the cake can be safely stored for up to one week, allowing for prolonged enjoyment without compromising its taste and texture.
- Can I freeze the cake?
- Indeed, it is possible to preserve the cake by freezing it. Expert advice suggests utilizing plastic wrap to ensure a tight seal, followed by the application of aluminum foil for added protection.
- Rest assured, the cake can be safely stored in the freezer for a period of up to three months. To fully enjoy its delectable taste and texture, it is recommended to thaw it overnight within the confines of the refrigerator prior to serving.
